
How to Create Your Skilldera Account: A Step-by-Step Guide for African Creators, Affiliates, and Learners.
Ready to start selling on Skilldera? Here's a step-by-step walkthrough — from your first search to your live dashboard — covering sign-up, choosing your role, and setting up your creator storefront with Mobile Money payouts. No card, no stress — just MoMo. This guide walks you through creating your Skilldera account in minutes, whether you're joining as a Creator, Affiliate, or Student.
How to Create Your Skilldera Account: A Step-by-Step Guide for African Creators, Affiliates, and Learners
If you've been putting off starting your online selling journey because signing up "seems complicated," here's some good news: creating a Skilldera account takes just a few minutes, and you don't need a bank card — just Mobile Money. Whether you want to sell courses and digital products, earn commissions as an affiliate, or simply learn new skills, this guide walks you through every screen you'll see, from your first search to landing on your dashboard.
Step 1: Find Skilldera
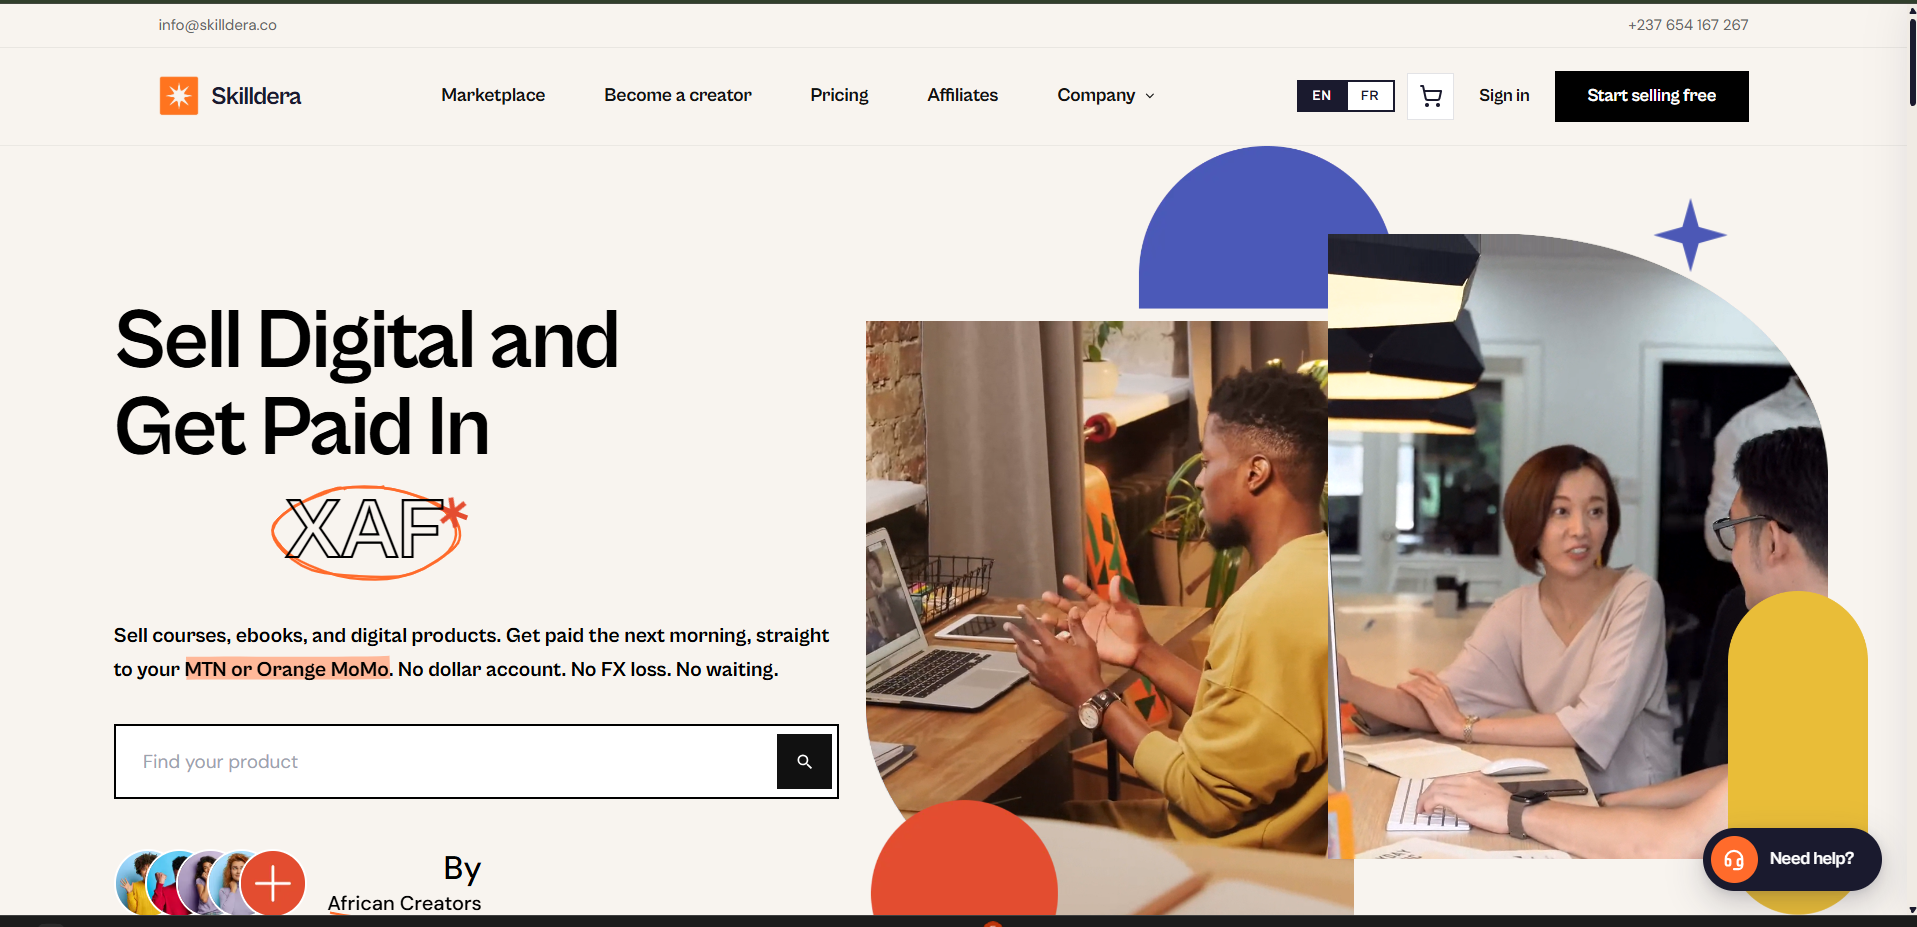
Open your browser and either search "Skilldera" or go straight to skilldera.co. On the homepage, look at the top right corner of the screen. You'll see two buttons:
Start Selling Free — for new users who want to sell on the platform
Login — for people who already have an account
Which one you click depends on whether this is your first time here.
Step 2: Already Have an Account? Log In
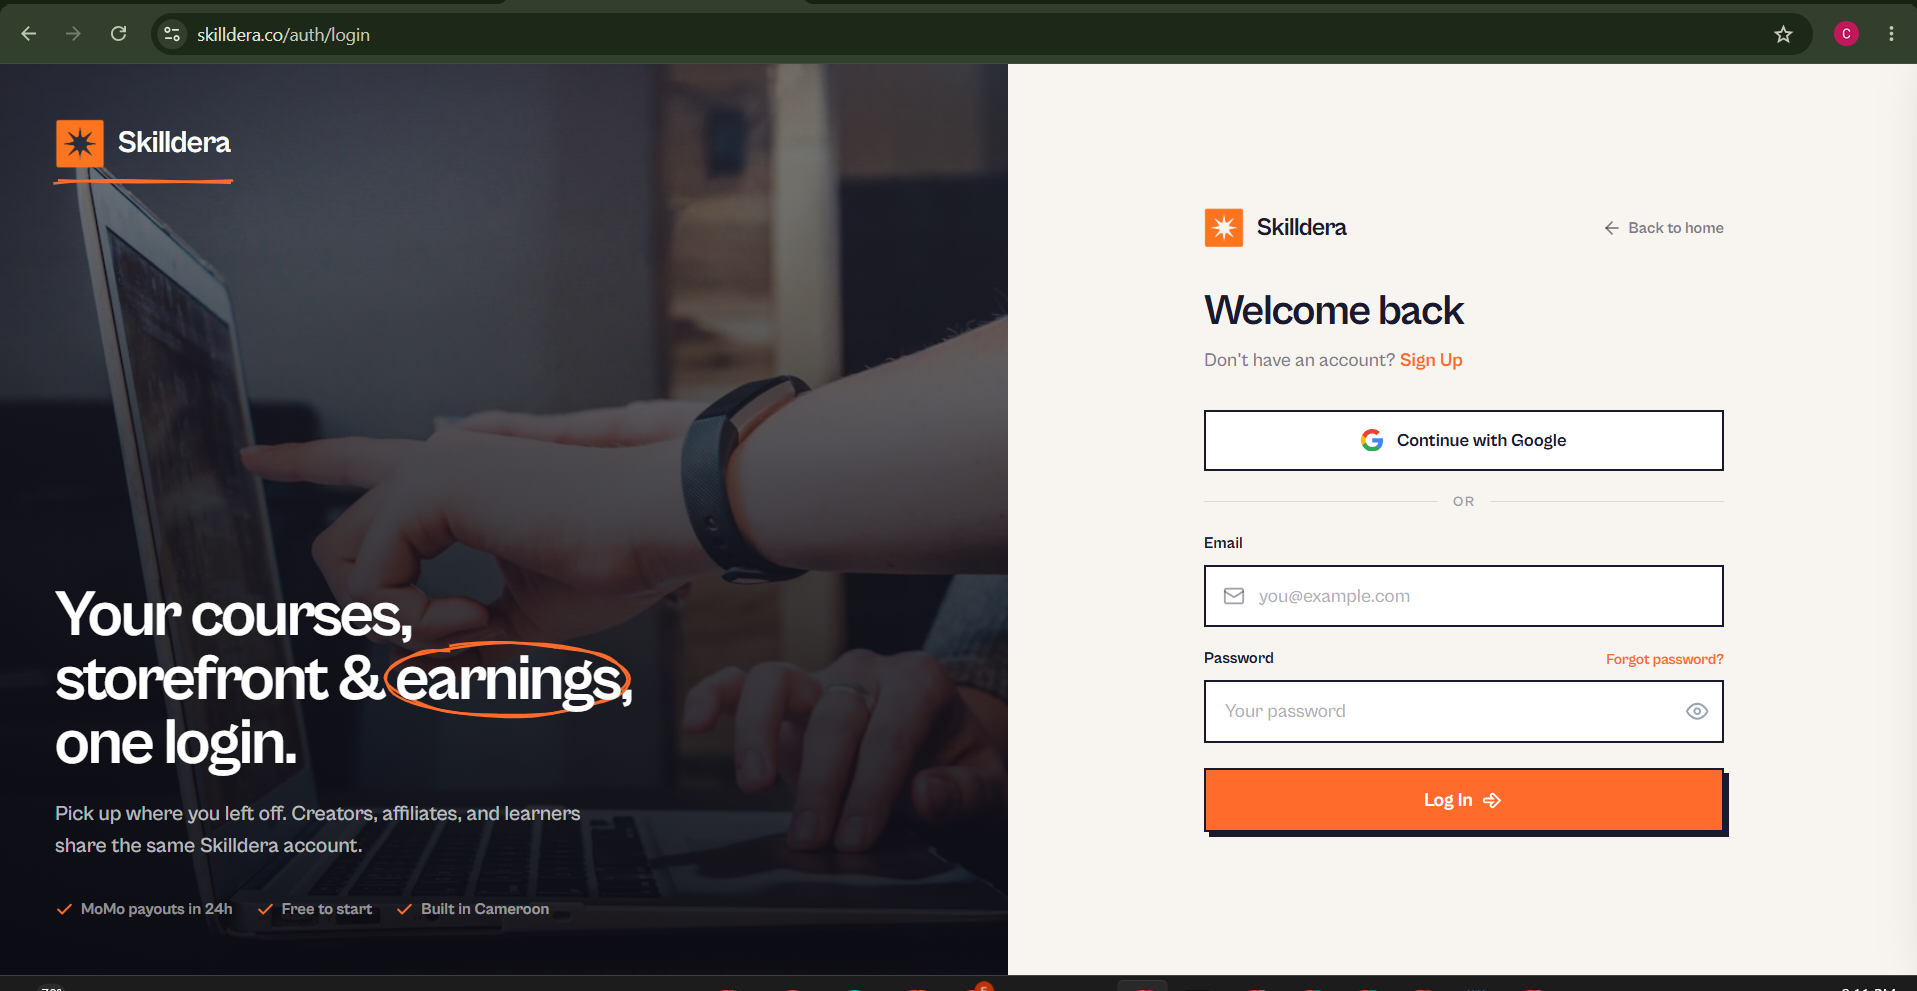
If you click Login, you'll land on the login page. From here, you have two options:
Sign in instantly with Google
Enter your email and password manually
Either way, you're back in your dashboard in seconds.
Step 3: New Here? Start Selling Free
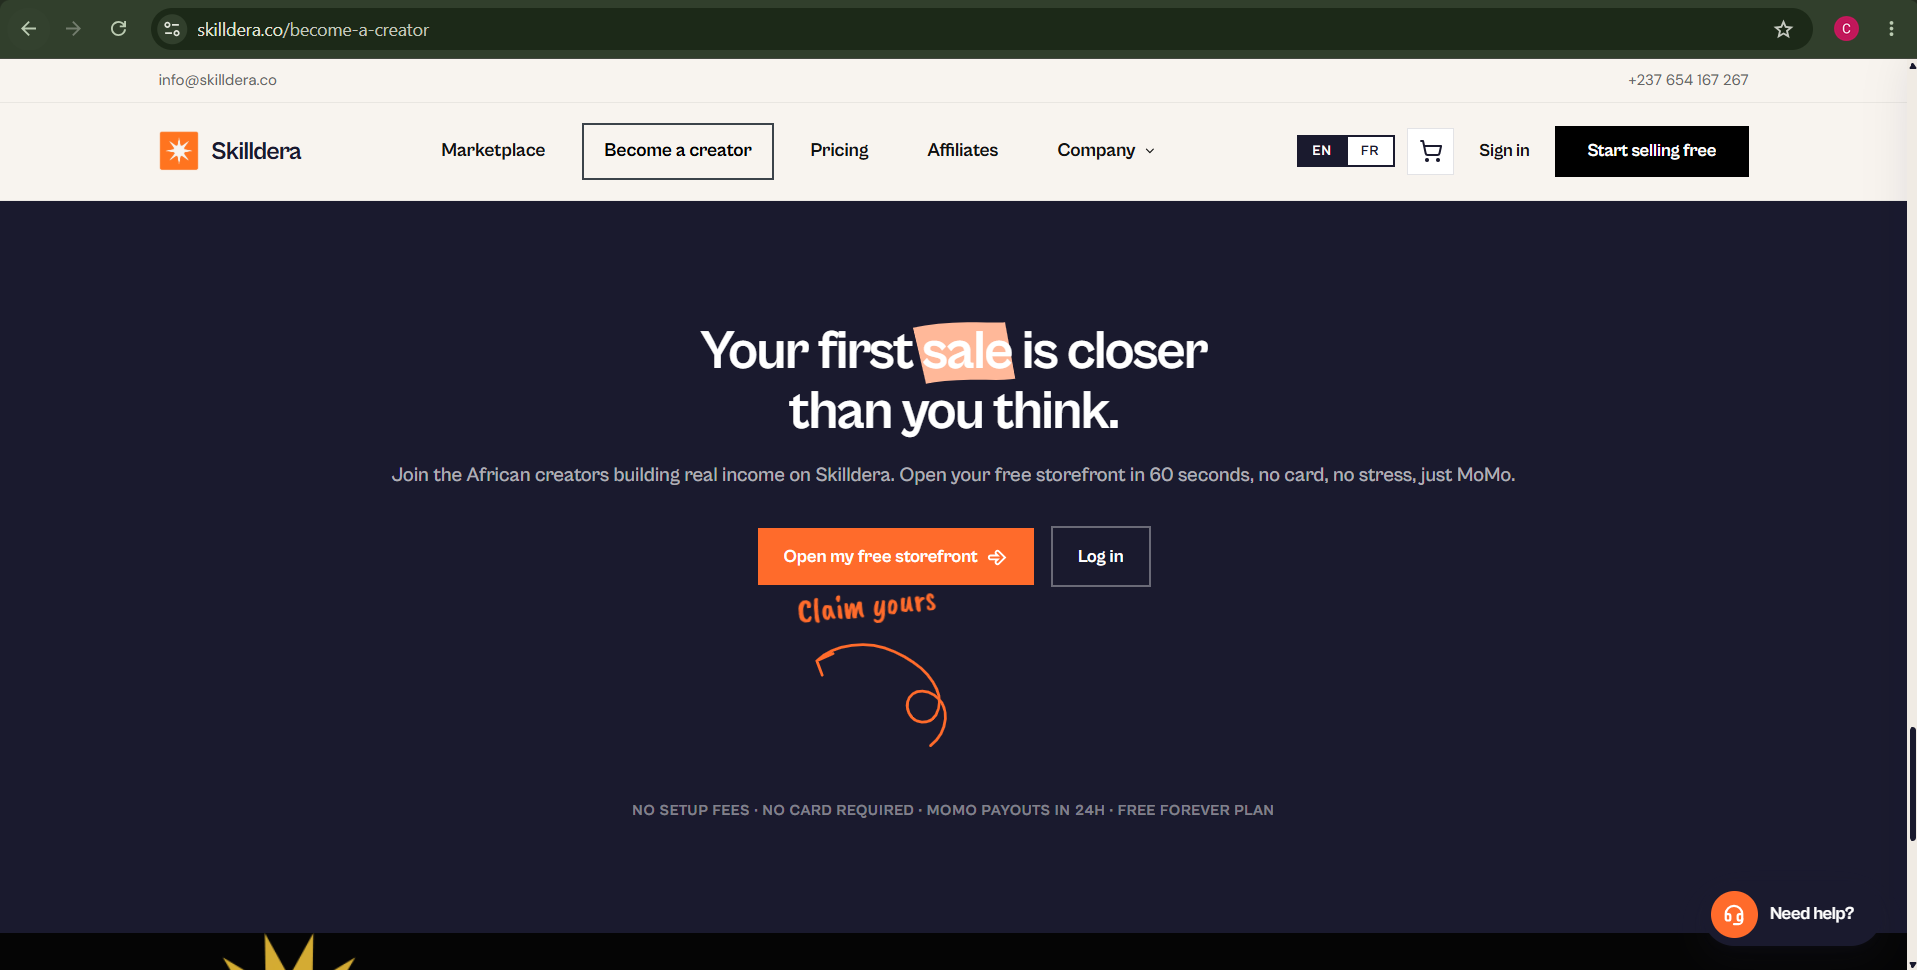
Clicking Start Selling Free takes you to the Become a Creator page. Scroll down and you'll see the pitch that sums up what Skilldera is about:
Your first sale is closer than you think. Join the African creators building real income on Skilldera. Open your free storefront in 60 seconds — no card, no stress, just MoMo.
Below that message, you'll find two buttons: Open my free storefront and Log in.
Step 4: Create Your Account
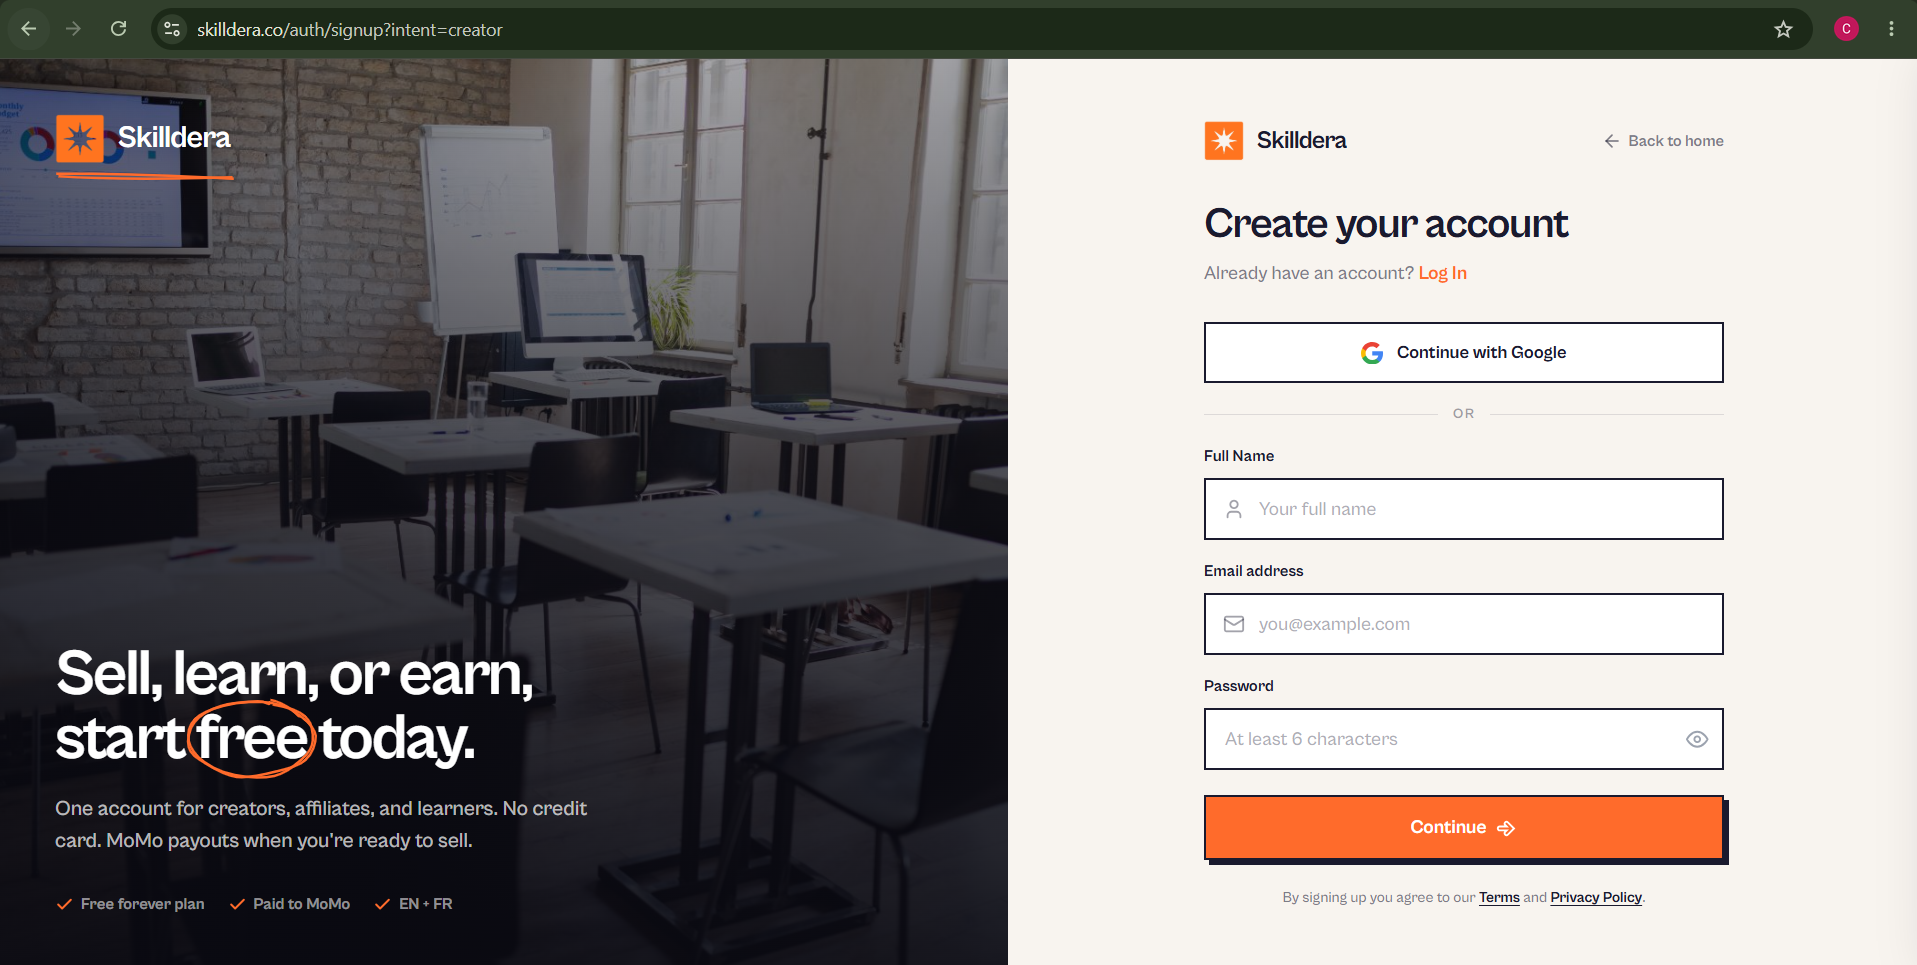
Clicking Open my free storefront brings you to the sign-up page. Here, you can create your account in one of two ways:
Sign up with Google in one click, or
Enter your name, email, and password manually
Once you submit, your account is created and you're moved straight into onboarding.
Step 5: Choose Your Role
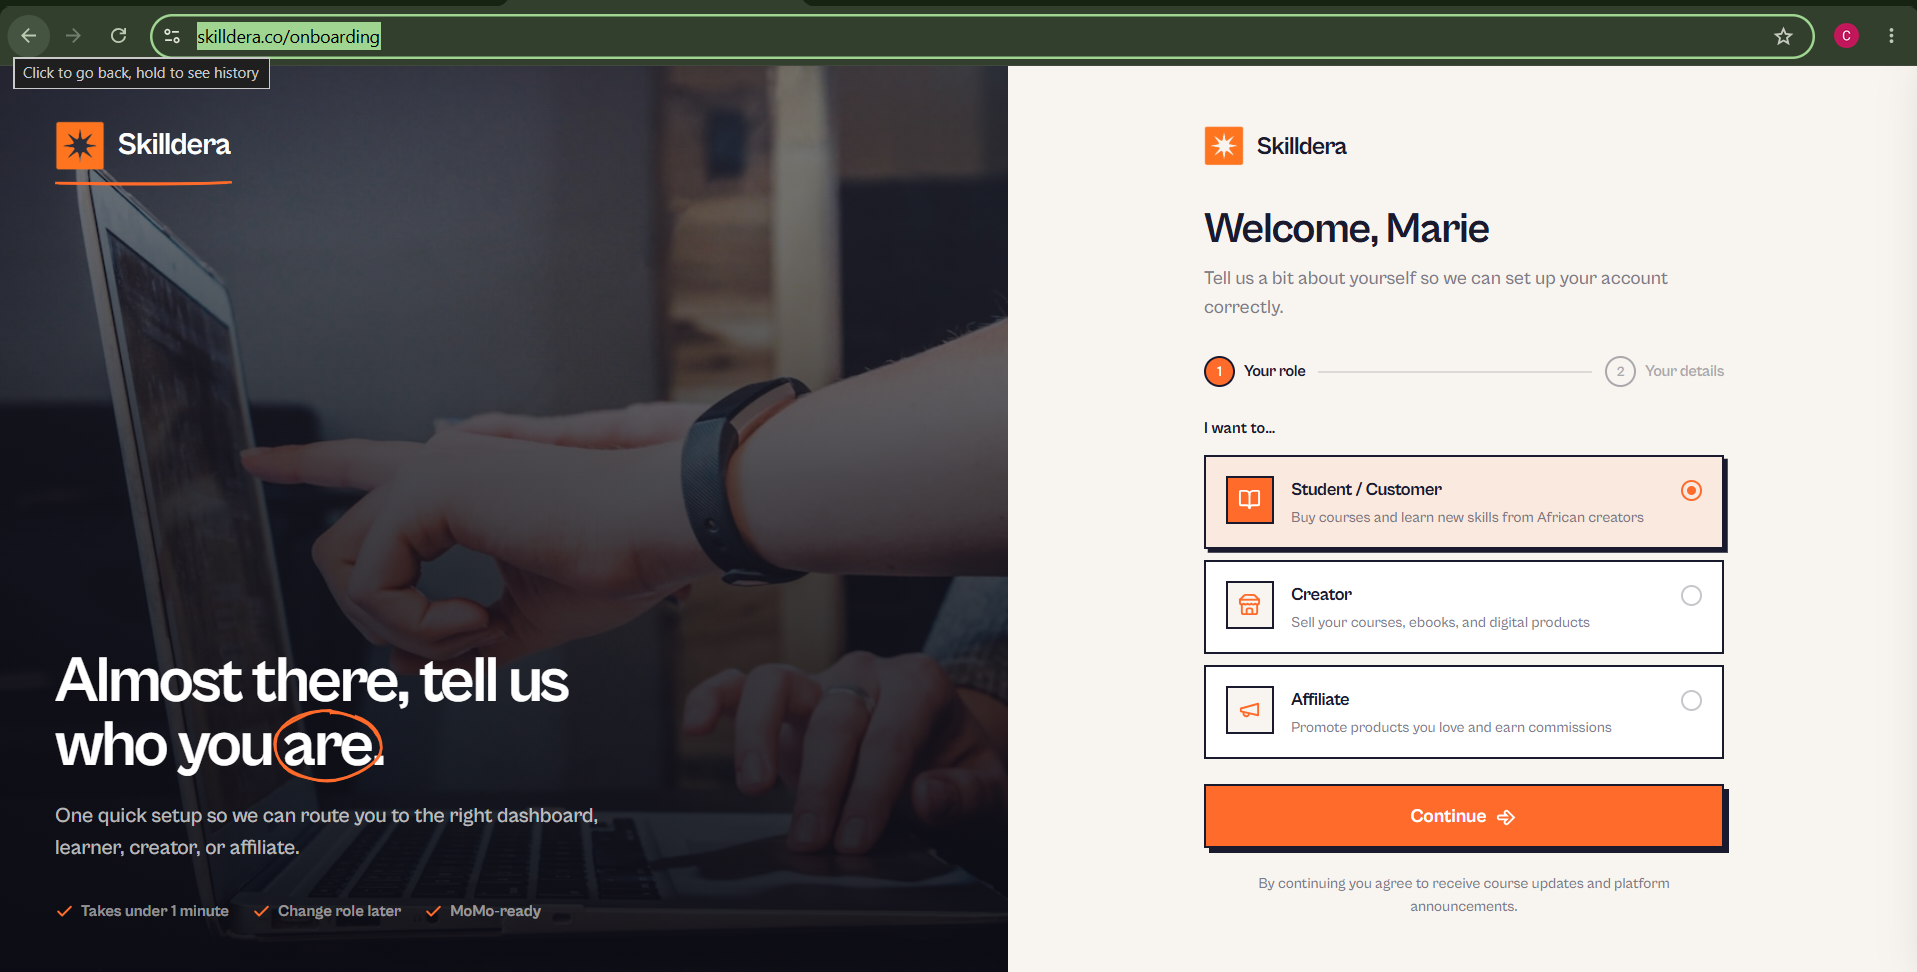
On the onboarding page, Skilldera asks you a simple but important question: "I want to…" You'll see three options:
Student / Customer — Buy courses and learn new skills from African creators. This is the simplest path: no storefront setup, no extra steps. You browse, buy, and learn.
Creator — Sell your own courses, ebooks, and digital products. This is for you if you have knowledge, a skill, or a product to package and sell.
Affiliate — Promote products you love and earn commissions. This is for you if you'd rather earn by recommending other creators' products instead of building your own.
Pick whichever matches why you're joining, then hit Continue.
A quick note if you're weighing your options: Creator is the only path that involves the extra storefront setup you'll see in Step 7, since you'll be the one receiving payments. Affiliates and Students skip straight to their dashboard after the next step.
Step 6: Tell Skilldera a Bit About Yourself
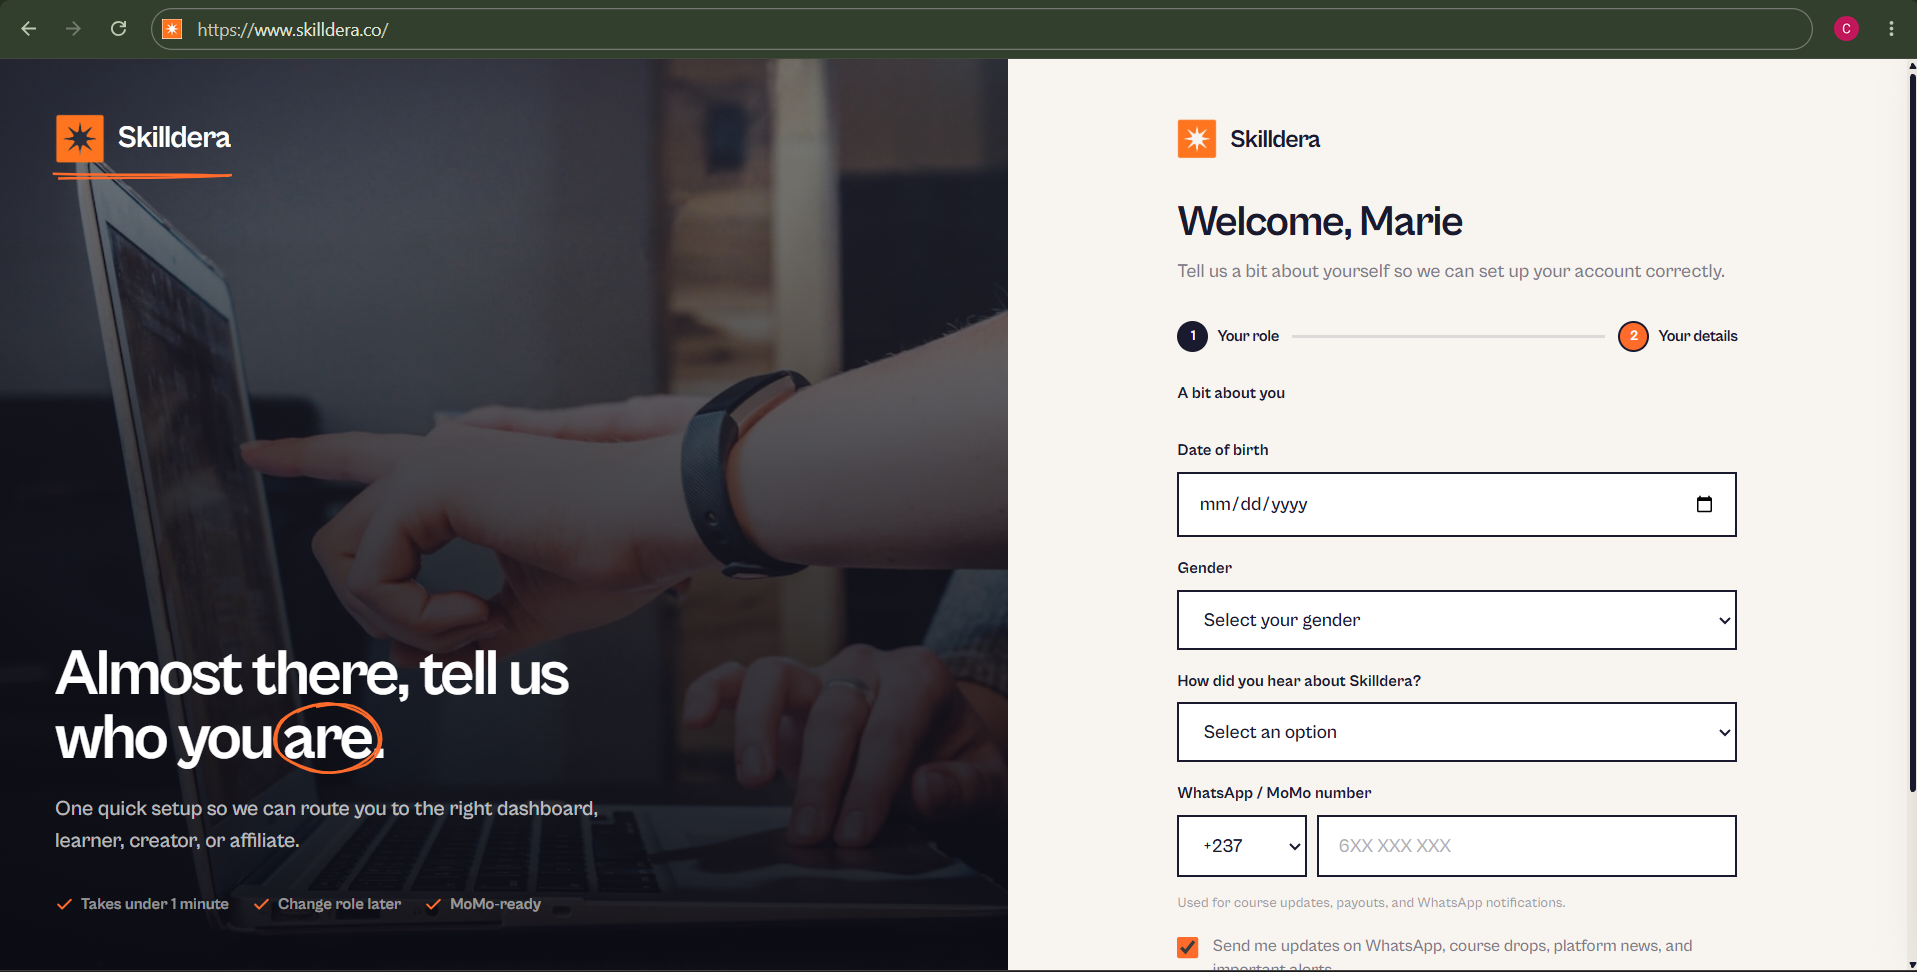
Next, you'll fill in a short profile:
Date of birth
Gender (Male, Female, Other, or Prefer not to say)
How did you hear about Skilldera? (TikTok, Instagram, Twitter/X, YouTube, WhatsApp, Google Search, a friend or colleague, a creator/affiliate referral, a tech event, or other)
WhatsApp / MoMo number, with your country code (options include +237, +234, +233, +254, +225, +221)
This number matters — it's what Skilldera uses for course updates, payouts, and WhatsApp notifications. There's also an optional toggle if you'd like updates on course drops and platform news sent to you directly on WhatsApp.
Once filled in, click Continue to Skilldera.
Step 7: Set Up Your Storefront (Creators Only)
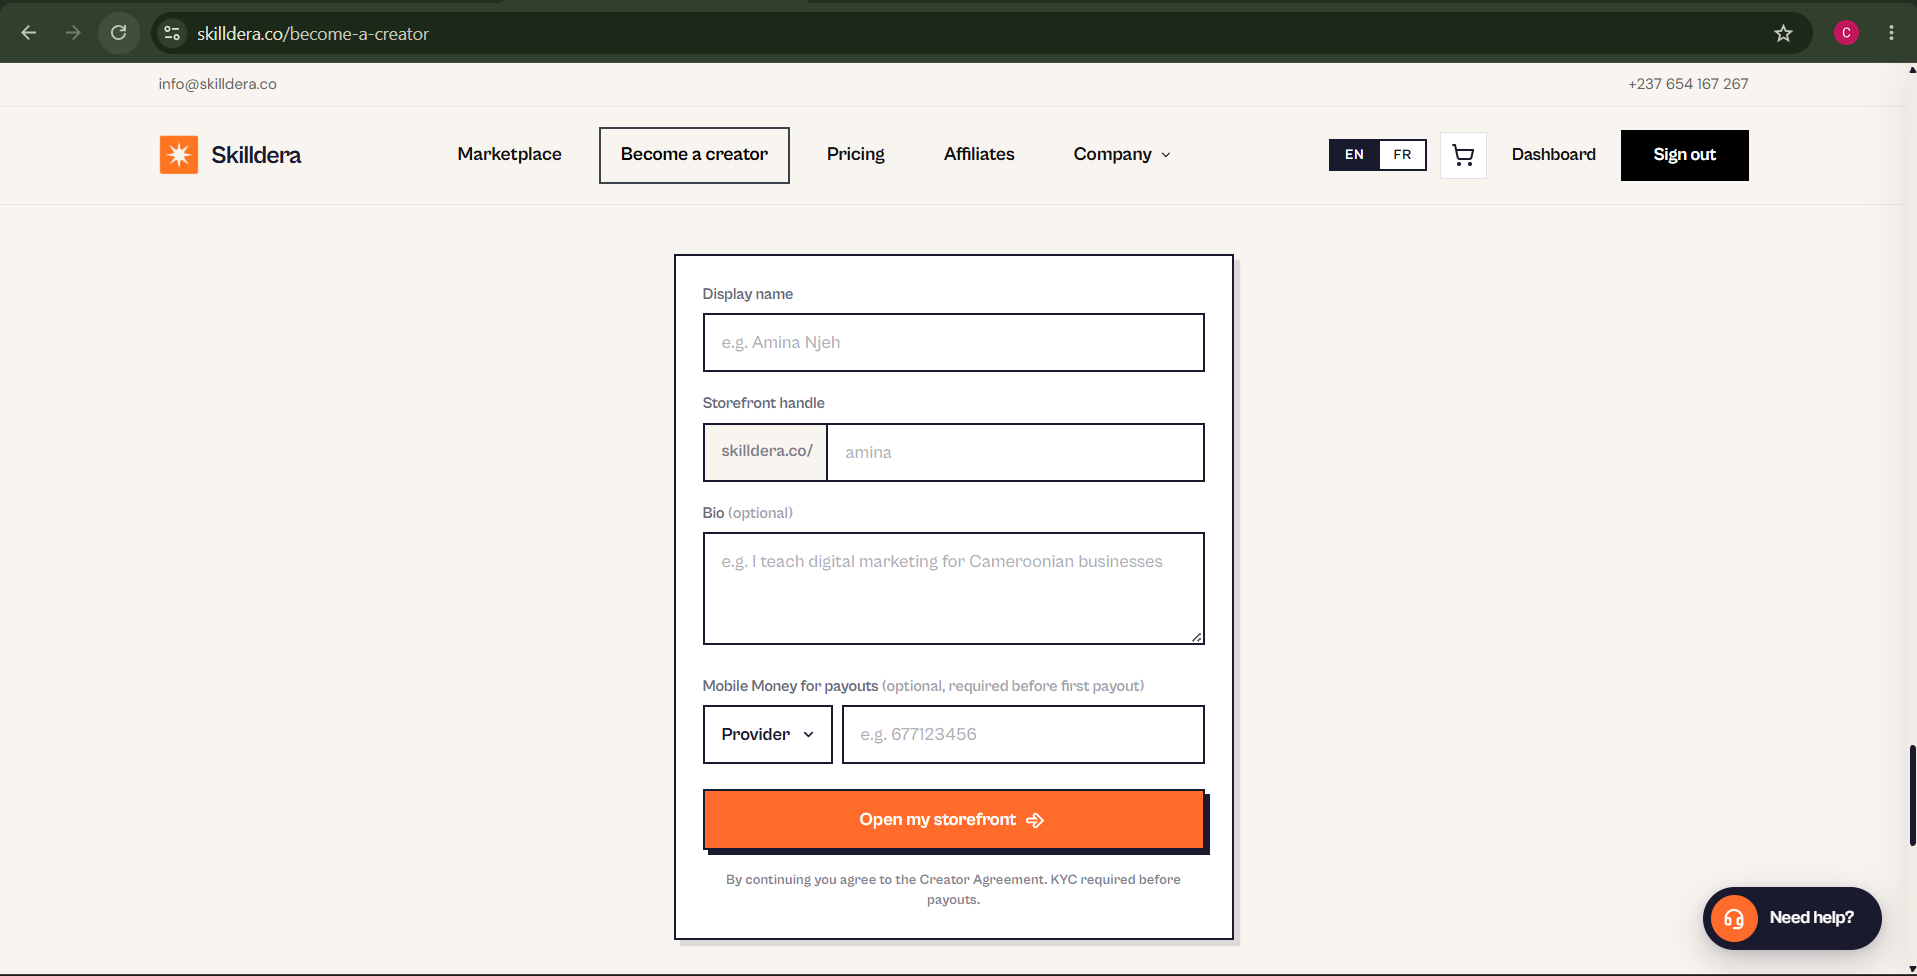
If you selected Creator, you're redirected back to the Become a Creator page. Scroll down and you'll find the final form:
Display name — how your name appears to buyers
Storefront handle — this becomes your unique link:
skilldera.co/yourhandleBio (optional) — a short line about who you are or what you sell
Mobile Money details — choose MTN or Orange as your provider
The Mobile Money section is marked optional at sign-up, but it's required before your first payout — so it's worth filling in early rather than leaving it for later. Also keep in mind: KYC verification is required before payouts go through, so don't expect to withdraw earnings until that's completed.
Once everything's filled in, click Open my storefront.
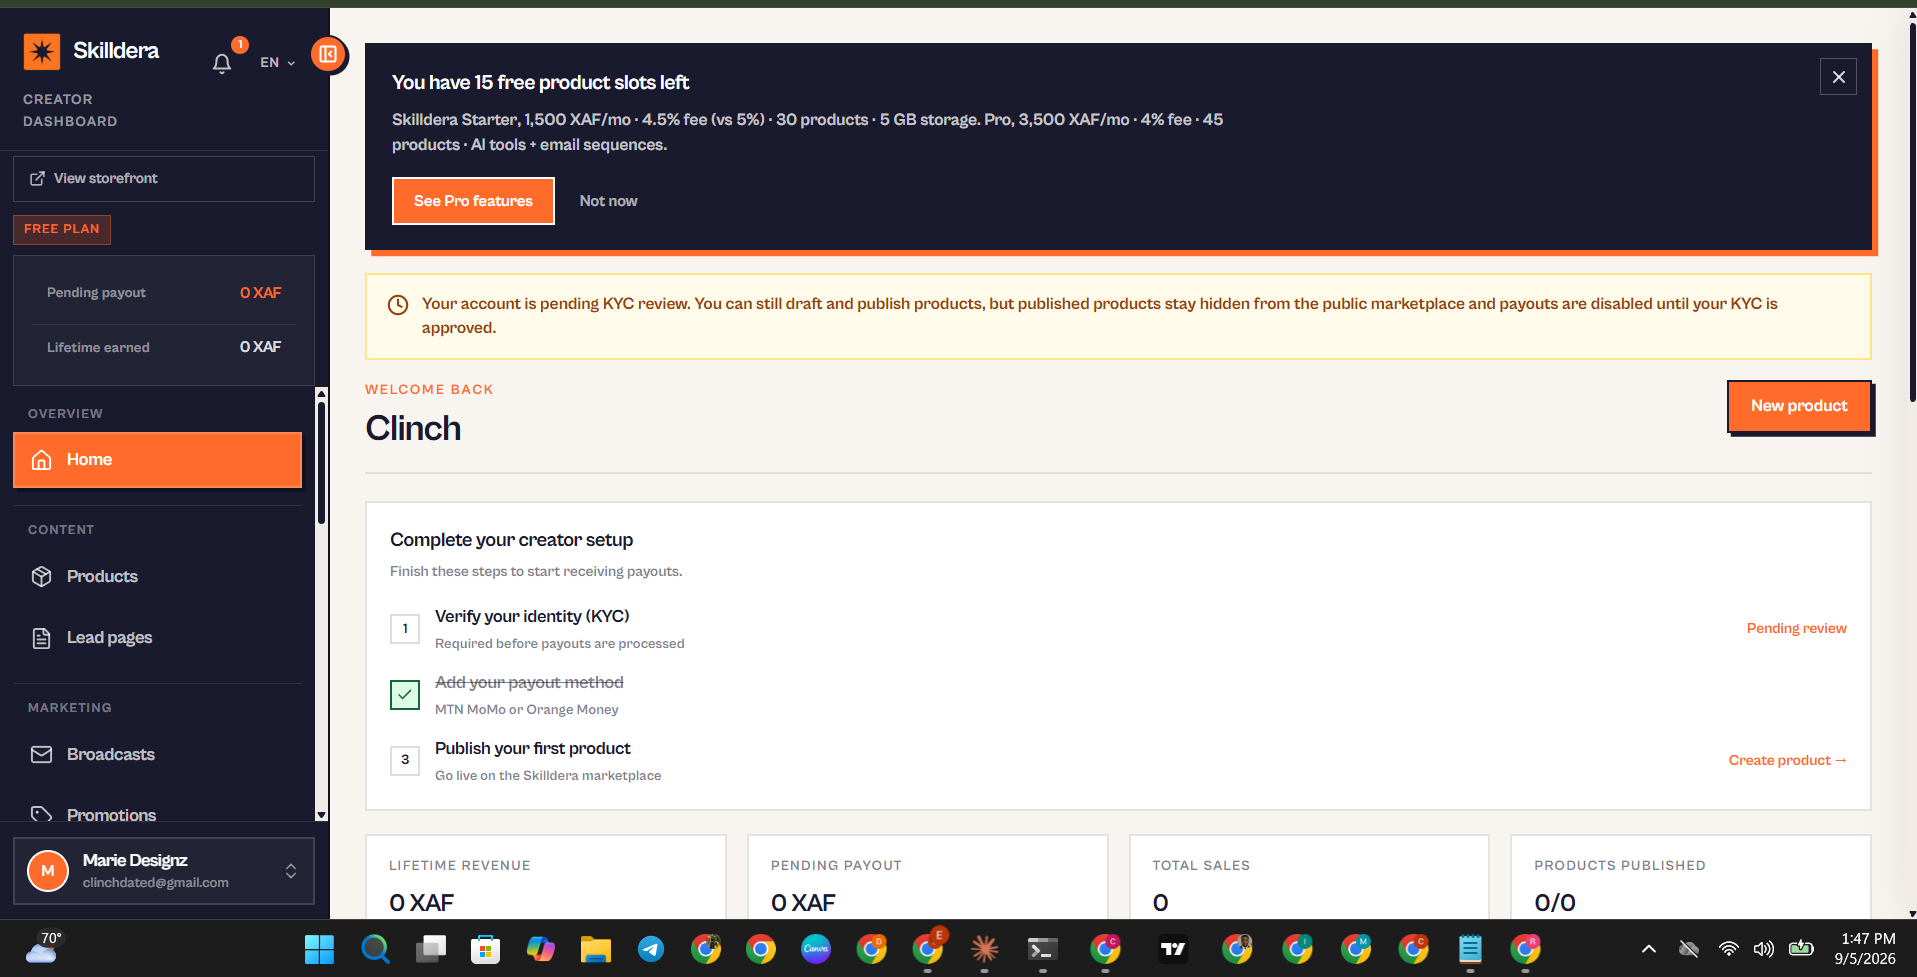
Step 8: Welcome to Your Dashboard
That's it. Whether you signed up as a Student, Creator, or Affiliate, you'll land straight in your dashboard — ready to browse courses, list your first product, or grab your referral links, depending on the role you chose.
A Few Things Worth Knowing Before You Start
No card required. Skilldera is built around Mobile Money, which makes it far more accessible for creators across Africa who don't have or want to use a bank card.
Signing up is free. There's no cost to open a storefront or create an account — you only deal with money when it comes to actual sales and payouts.
Payouts need KYC. If you're a Creator, budget a little time for identity verification before you expect to cash out.
Pick your role thoughtfully. While Skilldera doesn't heavily gate what each role can do at sign-up, your initial choice determines whether you go through the storefront setup step or skip straight to your dashboard.
Ready to Get Started?
If you've got something to teach, sell, or promote or you're just here to learn — the whole process from search bar to dashboard takes just a few minutes. Head to skilldera.co, pick Start Selling Free or Login, and you'll be set up before your coffee gets cold.
Keep reading
 Tech Education +5
What Is a Creator Platform and Why Does Cameroon Need One?
Most people in Cameroon have heard the word "platform" thrown around online. But very few understand what a creator platform actually is, what it does, and why having one built specifically for Cameroon changes everything. This is the clearest explanation you will find — and by the end, you will understand exactly why this matters for your future.
 Student Founders +5
Why We Built Skilldera in Cameroon — The Story Behind Africa's Creator Platform
Most platforms were not built for us. The payments didn't work. The language wasn't ours. The infrastructure assumed we had what we didn't. So we stopped waiting for someone else to solve it — and built Skilldera. This is the story of why, and what we're building for every knowledge seller in Cameroon and beyond.
 Creator Economy +5
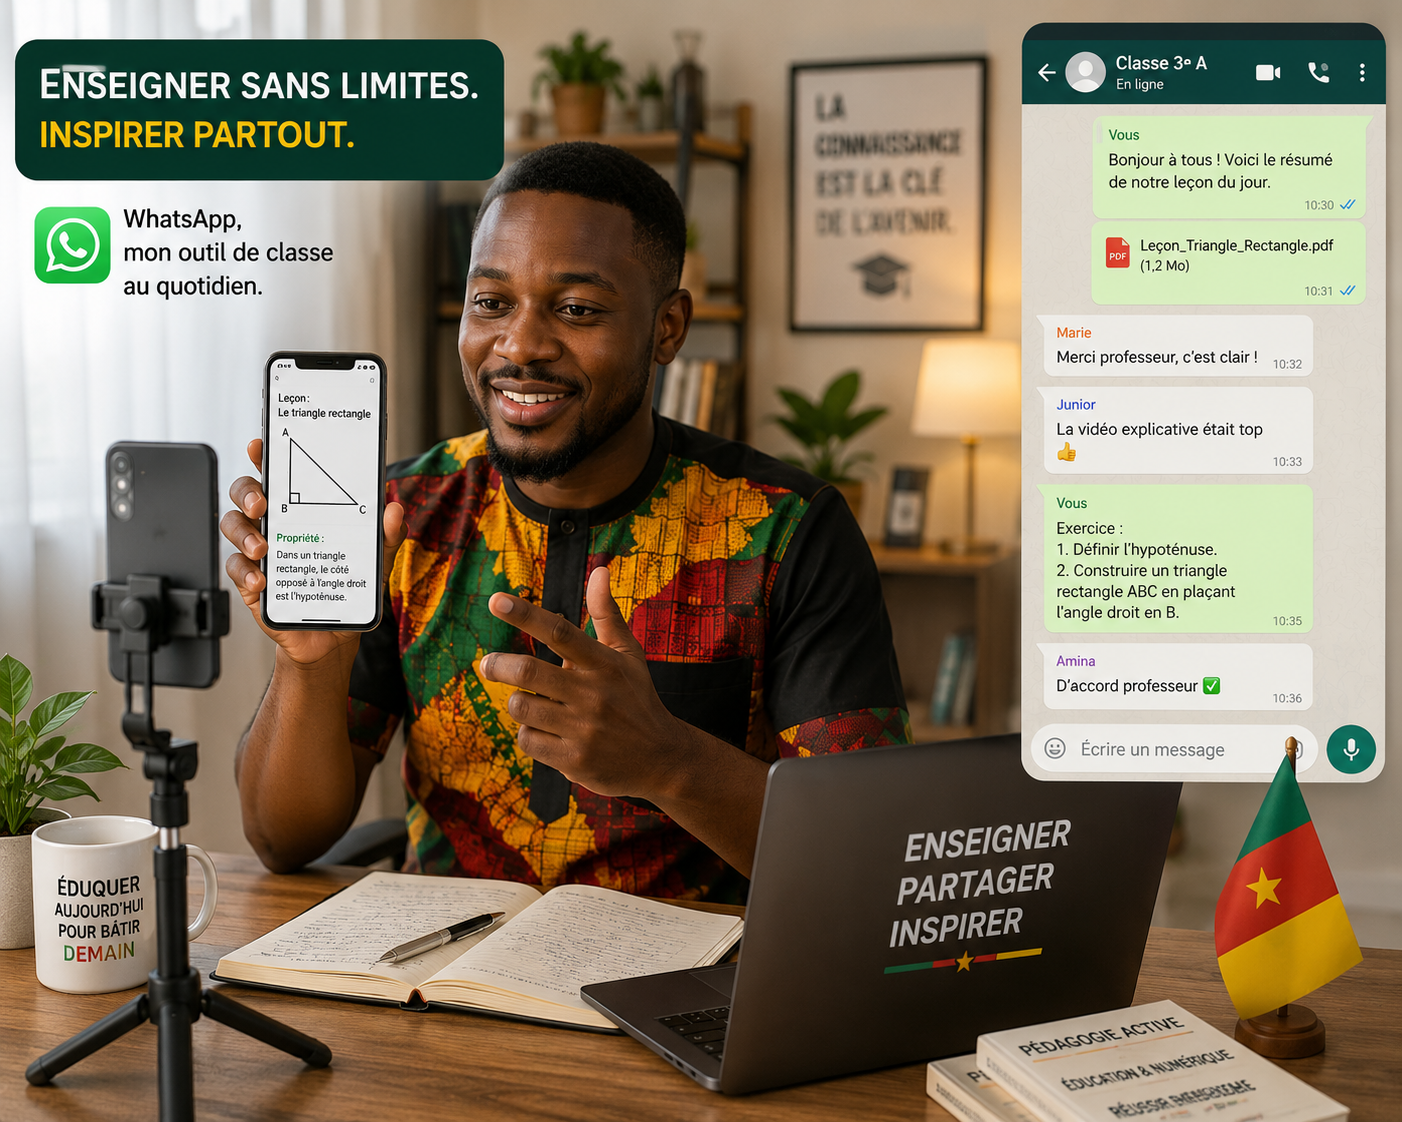
The Cameroonian WhatsApp Teacher: How to Turn Your Free Group into a Paid Business
You have been teaching for free on WhatsApp for months — maybe years. Sending notes, answering questions, sharing voice messages at midnight because someone needed help. Your knowledge is real. Your impact is real. The only thing missing is a system that pays you for it. Here is exactly how to make that shift.